The term "metalworking" refers to the process of working with metal to make certain objects. Metalworking encompasses a vast spectrum of technology used to produce everything from little jewellery pieces to massive infrastructure projects. Forming, cutting, and joining are the three main types of operations performed on metals. Casting, in which metal is poured into a mould and then cooled and hardened, is one of the most common metalworking processes.
Hand tools used in the metalworking industry are known as "metalworking hand tools." In contrast to powered tools, the person using a hand tool provides all of the propulsion. Top Metal fabrication company Melbourne
Table of Contents
What Are the Strategies of Organizing Tools?
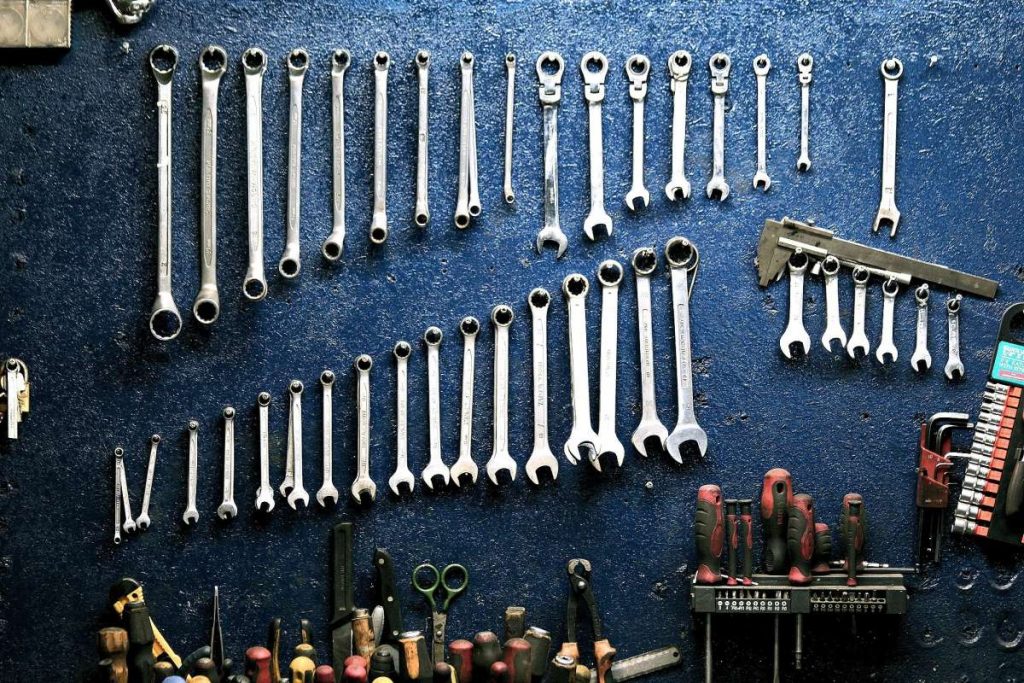
A key part of lean manufacturing is the 5S methodology, which has its roots in actual manufacturing processes. Job shops, especially those with multiple departments for tasks like cutting, bending, and welding, can easily include it into their operations. Changeover times can be drastically reduced with the help of shadow boards and consistent tool layouts.
However, in a job shop or prototype business that focuses on specific projects, workers remain with a product from start to finish. While some tools, like a tape measure, marker, and scribe, might be kept at the ready at all times, the sheer range of instruments required to complete any given project makes it unrealistic to expect uniformity.
We outlined two aspects of effective tool organisation for this setting. The first is understanding how they prefer to structure their day. The results of an individual's labour are more telling than the aesthetics of his workspace. The state of one's workbench is of little consequence if the individual at it is extraordinarily productive (in comparison to his peers) and has no trouble finding anything.
Check out Future of the Sheet Metal Fabrication Industry
But if everyone in the office uses the same tools and nobody can locate anything on his disorganised desk, something has to give. If your coworkers or the consumers that come into your shop place a premium on tidiness, you should do the same. Simply put, if your cluttered work area is having an impact on those around you, it's time to get organised.
He does, however, offer areas to work in which tools may be quickly located, which is useful for some kinds of personal organising. For instance, most tool chests and storage cabinets in the garage only have shallow drawers, so users can only stack a single layer of tools within.
We'd rather not keep things in a hopper that's two feet deep and never gets used. You're wasting money if workers have to wait around for the resources they need.
Putting together toolkits for the day's tasks is the second part of an effective organisational approach. This is a take on the 5S philosophy, which suggests that one should only have the absolute essentials on one's workbench at any one time. If you have too many tools on your workstation, it can become a breeding ground for chaos and wasted time.
Running a job shop, where employees work on a wide variety of tasks, demands a unique management strategy. Colleagues assemble the day's toolkit at the start of each shift. Workers will gather wrenches, screwdrivers, and other mechanical implements if the task requires assembly. They pack the equipment made for weld preparation, joining, and housework if that is what they will be doing for the day's labour. They would go get the equipment needed to move the machine, place it on a level surface, and get it ready for the customer if they were installing a machine. For that, you'll need a rigging kit including essentials like jacks, pry bars, a dolly, a wedge, and some blocks. The following day, he may have to run power to the machine, which will involve a different set of tools and skills. Depending on the schedule, more than one kit may be required on some days.
He may need to pick up a few supplementary instruments in case of unforeseen complications. However, he shouldn't be visiting the toolroom every time his whip cracks.
Many workshop tasks are now completed with the aid of power tools and machinery because of the premium placed on efficiency and quick turnaround. But any skilled worker knows that the key to a decent end product is striking a fair balance between hand labour and machine production. The artisan often faces a choice during production between using hand tools or a machine for a given task. Whenever possible, you should base your choice on factors like which method is more cost-effective, which method you are more comfortable with, which method yields higher quality results, etc.
Never attempt a task without the proper equipment. This way, you may achieve the finest results with minimal time invested, tool wear, and personal risk.
There are times when using hand tools is quicker than using a machine. Obviously, if a large quantity of identical pieces needs to be cut, hand tools will be much slower. In contrast, if you're working on a one-of-a-kind item, you'll save time and effort by using hand tools instead of fiddling with the machine's settings.
It is more cost-effective to buy a less expensive hand tool and use it infrequently than to buy an expensive power tool that would sit on the shelf unused, and this is because one of the major advantages of hand tools is that they are less expensive than the power tools. In addition, the hand tools are crucial for any sort of home upkeep. Since most home improvement tasks are one-offs, stocking up on expensive power tools is a waste of money. Using hand tools instead of power tools is more safer, which is especially beneficial for novice craftspeople and casual DIYers who only need to make temporary fixes.
Scriber
In metalworking, a scriber is a hand tool used to mark lines on workpieces before they are machined. Using a scriber is a part of the marking out process and is known as scribing. Since pencil and ink lines are difficult to perceive, may be readily wiped, and produce erroneous results due to their large mark, scribe lines are prefered. To improve the legibility of the mark lines, blue is frequently utilised when marking on uncoated workpieces.
A cast steel rod with a hardened and tempered tip. A 30 or 40-degree angle is used to sharpen the tip. Some scribes argue both sides of the issue. If you run the point of the tool over the surface of the workpiece, you'll make a small, visible scratch.
Use brass on iron and steel, steel on brass, copper, etc.
Slapper
Metalworking also makes use of slappers made of wood and metal. Leather faces are commonly used on wood slappers. By using a slapper, you may easily reduce the panel's size, shape it, and planish (smooth) it without leaving any unsightly scuffs. Because it has the same angle of attack as a body hammer, the slapper is just as easy to use, but it can control more surface area with each hit than a hammer can.
This implies the user may switch between hammer and slapper without altering their arm and hand position. Because of the slapper's mechanical advantage over the rough regions because to leverage, it can be far more effective than the hammer when it comes to shrinking. When working metal over a T-stake, the slapper is ideal for gouging and planishing. A skilled slapper can create perfect crowns and radius bends. When using forming stakes and post dollies, a slapper is useful for gently planishing and pulling cold shrinks.
Snips and Shears
Metal can be cut with snips or shears. Snips and shears come in a wide range of sizes and shapes to accommodate a wide range of metals and thicknesses. Different types of shears can make shorter or longer cuts. If you're working with metal in the aircraft industry, you need special snips and shears.
When it comes to cutting metal, snips (or metal shears) are the equivalent of scissors. These instruments resemble large scissors with extremely sharp serrated blades. Roofing, flashing, sheet metal, and thin metal plates can all be cut with snips. There are many types of snips, including duct snips, hawksbill snips, and aircraft snips. When manually slicing through large metal sheets, aviation snips, also known as compound snips, have a special design that allows them to use leverage.
Classic Tinner Snips
The Classic Tinner Snips are supplied in 10", 12" and 16" sizes for straight cuts, and a Duckbill type for tight radius cuts. Each of the three variations features a machine-precise metal design, has been forged for strength, and is coated to prevent rust. The 12-inch version was tried and trued and put to good use. This kind of tinier snips is identical to the others except that the loop on the handle is 40% wider, making it easier to use when wearing gloves. The Bolt Lock mechanism Milwaukee uses prevents the blade handles from loosening during usage. The 12-Inch Classic Snips will cut:
- Steel in gauges as thin as cold rolling.
- Up to 22 gauge stainless steel.
Compound-Offset Tinner
The Compound-Offset Tinner Snips are made of strong metal that has been forged and coated to prevent rust. The BOLT-LOCKTM Technology is used to keep the blades from becoming unfastened over time. The 45-degree all-metal forged offset blades on this Tinner elevate the user's hands above the workpiece. Useful for slicing through aluminium sheet stock or wire mesh. Metal, heavy gauge copper, and sheet stock up to the following gauges can all be cut with this Tinner thanks to its compound cutting mechanism, which boosts the tool's cutting force.
- Steel in gauges as thick as 18 is cold rolled.
- Steel as thin as 2 gauge is stainless.
Dolly
The term "dolly" is used to describe a variety of sheet metal forming tools. A dolly often consists of a single piece of metal with a curved or shaped face, and it is tiny enough to be held in one hand. The dolly has multiple surfaces, each with its own curvature radius, much like a three-dimensional French curve.
To form a dome or dish in metal, a dolly can be used as a hammer, moulding the metal to follow the curve of the dolly, or as a miniature anvil to give a curved surface over which to work. Sheet metal is often formed with them because hammers are difficult to use in tight spaces.
As an added bonus, they can be used to support heavy metal objects without damaging them. A dolly can serve as a makeshift anvil to steady a rivet as it is clamped in a "snapper." Dollies of this type tend to be spherical and rely on bulk for their functionality. "holding up" or "holding on" refers to the action of using it. Dollies are also useful for clinching nails, which is a common task in boat construction.
The dolly was used before the anvil was invented, and it is still used today to shape and smooth metal. You can use a dolly by hand or put it down on a table or other flat surface. By using the dolly's rounded surface, metalworkers may simply and consistently shape pliable metal into rounded shapes.
Files and Rasps
A file can be used to remove very small quantities of material when working with metal or wood. A hand tool of this type often resembles a steel bar with a case hardened surface and a series of sharp, parallel teeth. A file's handle can be attached to the tool's distinctive tang, which can be found at the file's narrow, pointed end.
Files, a common tool in the metalworking trade, are bars of metal coated in serrations or sharpened scales that are used to hone, shape, and remove metal. The length of a file can vary from a few inches to over a foot, and they can be in any of three basic shapes: a cylinder, a triangle, or a rectangle. Files with scales or serrations are used to abrade metal by being repeatedly pushed across the surface.
A rasp is an instrument that serves a similar purpose. This type is an earlier evolution with more primitive teeth. Since there is more space in between each tooth, these are better suited for working with non-metallic, softer materials.
Abrasive tools, such those made from diamond or silicon carbide, have been produced for similar purposes. These are sometimes referred to as "files" due to their similarities in structure and purpose.
Hacksaw
The hacksaw is a simple hand tool used to cut through metal with a sharp toothed blade. A pistol grip is fitted to the end of the hack saw's C-shaped frame. Metal components are pushed back and forth across the frame with the help of a blade attached to the frame's open end. The blade's teeth are fine and closely spaced so that it won't get caught on hard metal. More teeth per inch indicate a hacksaw blade is suitable for cutting stronger metals, while fewer teeth indicate it is better suited for cutting softer metals.
Hand Or Cold Chisel
In contrast to a hot hand chisel, which is used for cutting metals while they are hot, these were used for cold cutting. It would be 3 inches longer and 1/8 inch thinner at the cutting edge if used for this. In this case, tool steel was used.
Hammer
Metalworkers utilise many different kinds of body hammers. Lightweight "pick" hammers have a short pick tip and high-crown peen-type faces that can ding out small dents in high fins. Heavy-duty "bumping" hammers are designed for thick vehicle fenders and panels. There are a wide variety of hammers available, each optimised for a certain set of needs or a different gauge of metal.
Lightweight Tinner Snip
The Lightweight Tinner Snip is a pair of tin snips with a lightweight aluminium body and interchangeable blades. These snips are great for making clean, lengthy cuts in sheet metal or ducting, as their cutting length is 3-1/2 inches.
Mallet
Most metalworking mallets have wooden or plastic heads. These "faces" can be flat, rounded, elongated, or square, among other types. Different metals can be worked and/or shrunk using the mallet's various faces and construction.
The flat side, for instance, can be used for hand-shrinking thicker, softer metals and for planishing and polishing. While the striking weight of a large hickory "torpedo mallet" is ideal for shaping soft metals like aluminium or copper, the striking weight of a similar torpedo mallet manufactured from heavy black rubber is ideal for shaping steel.
Metal is shaped, formed, and pounded into place with mallets that have plastic, wooden, or rubber heads. Soft-headed mallets cause minimal dents and surface flaws after striking a metal surface, in contrast to metal-headed hammers.
Check out Austgens LASER CUTTING
Outside Calipers
Useful for converting measurements made with a flat measuring rule to objects that are shaped differently when they are in the round. The majority of their use is in turning, hence they are typically composed of iron or steel.
Profile Gauge
A profile gauge, also known as a contour gauge, is a measuring device used to precisely document the cross-sectional geometry of a given surface.
The pins in a contour gauge can be made of steel or plastic, and they are fixed snugly against one another in a frame that holds them in a flat, parallel orientation perpendicular to the frame but allows them to move freely in all directions. The pins shape themselves to whatever they're pressed against. The gauge can be used to replicate the profile onto another surface or to draw it.
Punch
A punch is a rod made of hard metal, typically pounded with a hammer, and typically featuring a shaped point at one end and a blunt butt end at the other. Nails and other small objects can be driven with a punch, or an impression can be made on a workpiece. Patterns and even images can be formed with decorative punches.
Scratch Card Or Card Wire Brush
Brushing the bristles in the same direction as the file's cut of the teeth is how they're utilised for cleaning. It's just a piece of wood with some card wire tacked to it in a gripping form.
Ideal for roughing down metal and smoothing out flat surfaces. Often used for filing shoulder blades, this flat file includes one toothless side for added safety.
Soldering Iron
A copper bit is another name for it. Soft soldering is a common application for them. Typically made of wood, wrought iron, and copper for the handle. All sorts of forms and sizes are available, but the most practical ones weigh between 1 and 2 and a half pounds.
3" Speed Seamer
The 3 "SPEED SEAMERTM can be used with either hand thanks to its forged metal head and ergonomic over-molded handles. A simple, convenient lock secures the tool's jaws when they are not in use. The 3 "Folding copper and aluminium flashing and the vast majority of other metals used in HVAC ducting is a breeze with the Speed Seamer. The most common seam folds are 3/8 and 1 inch, so those measurements have been forged into the jaws for speed and accuracy. You can crimp the following metals with the Speed Seamer thanks to its 1.5-inch-deep throat:
- Cold-rolled steel as thin as 22 gauge.
- 24 gauge or thinner stainless steel.
Check out Difference between Welding Soldering and Brazing
5-Blade HVAC Crimper
The 5-Blade HVAC Crimper's reinforced crimper ribs make the blades more stable and double the tool's lifespan. Milwaukee's BOLT-LOCK system prevents the blades from accidentally coming loose. This crimper has a 1-5/8-inch-deep throat, making it suitable for the following metals:
- Cold-rolled steel as thin as 22 gauge.
- 24 gauge or thinner stainless steel.
The 3" SPEED SEAMERTM and 5-Blade HVAC Crimper, with its forged metal head and comfortable over-moulded handles, are indispensable tools in my line of work as a renovating carpenter. In the absence of this device, you would be completely at sea when it comes to arranging the ductwork and vent pipes for the bathroom, kitchen, and clothes dryer.
Conclusion
The term "metalworking" refers to the practise of shaping metal into useful objects. Metals undergo the most common operations of shaping, severing, and joining. "Metalworking hand tools" refers to the various types of hand tools used in the metalworking industry. The 5S method is central to lean manufacturing because it is based on real-world production activities. Staff members in a job shop or prototype company typically work on a single product from beginning to end. If you want to be successful in this environment, you need to learn how they like to organise their day and set up your workspace so that tools are easy to find.
Garage cabinets and tool chests typically have shallow drawers, limiting storage to a single layer. The 5S method advocates for keeping only the bare minimum on a workbench at any given time to prevent clutter and lost productivity. The artisan's decision should be based on a number of criteria, such as the method's cost-effectiveness, the artisan's familiarity with it, and the quality of the finished product, in order to strike a fair balance between hand labour and machine production. By doing things this way, they can get the best possible outcomes while minimising waste, broken tools, and danger to themselves. For a one-of-a-kind project, the use of hand tools is more efficient than a machine.
They are essential for home maintenance and much cheaper than power tools. Workpieces are marked with lines using scribes before being machined, and the panel's size is reduced, shape, and planished using slappers, all without leaving unsightly scuffs. When marking on uncoated materials, blue is commonly used, and the tip is sharpened using a rod made of cast steel that has been hardened and tempered. Mechanically, the slapper beats the hammer at the game of shrinking metal. It can be used for gouging and planishing, forming precise crowns and radius bends, and planishing and pulling gently to shape cold shrinks.
Similar to scissors, snips and shears come in a variety of sizes and styles. In addition to the standard 10", 12", and 16" lengths, the Classic Tinner Snips also come in a Duckbill style for making precise, small-radius cuts. We found the 12-inch model to be reliable and useful. Blade handles from Milwaukee's tools won't come undone thanks to the Bolt Lock mechanism. These compound-offset tin snips are made of a durable metal that has been forged and coated to prevent rust. When cutting through aluminium sheet stock or wire mesh, the 45-degree all-metal forged offset blades keep the user's hands high above the workpiece. The thinnest gauge of stainless steel is 2, and the thickest gauge of cold rolled steel is 18. Many different tools used for shaping sheet metal are collectively known as "dollies," including hammers, anvils, and clinching nails. Dollies were utilised for metal shaping and smoothing long before the anvil was developed.
A file is a type of hand tool that can be used to smooth out rough spots on metal or wood. It comes in a cylinder, a triangle, or a rectangle shape and can be anywhere from a few inches to over a foot in length. Scaled or serrated files are used to abrade metal by being pushed across the surface repeatedly, while raspes are an earlier evolution with more primitive teeth. In contrast to cold cutting, which is done with chisels, which are used with the hand, hacksaws are simple hand tools used to cut through metal with a sharp toothed blade. Both light "pick" hammers and heavy "bumping" hammers are used by metalworkers. If you need to make precise, lengthy cuts in sheet metal or ducting, look no further than the Lightweight Tinner Snip, a pair of tin snips with a lightweight aluminium body and interchangeable blades. Mallets, whose heads are typically made of wood or plastic and can be flat, rounded, elongated, or square, are useful for planishing and polishing as well as hand-shrinking thicker, softer metals.
Puncture marks and other surface imperfections are kept to a minimum when using a punch hammer on metal, while profile gauges are used to precisely record the geometry of a surface's cross section. A punch is a rod of hard metal with a shaped point at one end and a blunt butt end; it is typically pounded with a hammer. One can punch it into a workpiece to drive it, or one can use it to leave an impression. Both the 3" SPEED SEAMERTM and the 5-Blade HVAC Crimper feature forged metal heads and ergonomic over-molded handles, making them suitable for use with either hand while working on either small or large projects. With its 1-5/8-inch-deep throat, the Speed Seamer makes quick work of folding copper and aluminium flashing and most other metals used in HVAC ducting.
Content Summary
- Hand tools used in the metalworking industry are known as "metalworking hand tools."
- A key part of lean manufacturing is the 5S methodology, which has its roots in actual manufacturing processes.
- However, in a job shop or prototype business that focuses on specific projects, workers remain with a product from start to finish.
- Simply put, if your cluttered work area is having an impact on those around you, it's time to get organised.
- He does, however, offer areas to work in which tools may be quickly located, which is useful for some kinds of personal organising.
- Putting together toolkits for the day's tasks is the second part of an effective organisational approach.
- If you have too many tools on your workstation, it can become a breeding ground for chaos and wasted time.
- Running a job shop, where employees work on a wide variety of tasks, demands a unique management strategy.
- Colleagues assemble the day's toolkit at the start of each shift.
- The artisan often faces a choice during production between using hand tools or a machine for a given task.
- There are times when using hand tools is quicker than using a machine.
- In contrast, if you're working on a one-of-a-kind item, you'll save time and effort by using hand tools instead of fiddling with the machine's settings.
- It is more cost-effective to buy a less expensive hand tool and use it infrequently than to buy an expensive power tool that would sit on the shelf unused, and this is because one of the major advantages of hand tools is that they are less expensive than the power tools.
- In addition, the hand tools are crucial for any sort of home upkeep.
- Since most home improvement tasks are one-offs, stocking up on expensive power tools is a waste of money.
- Using hand tools instead of power tools is more safer, which is especially beneficial for novice craftspeople and casual DIYers who only need to make temporary fixes.
- ScriberIn metalworking, a scriber is a hand tool used to mark lines on workpieces before they are machined.
- This implies the user may switch between hammer and slapper without altering their arm and hand position.
- When working metal over a T-stake, the slapper is ideal for gouging and planishing.
- Snips and ShearsMetal can be cut with snips or shears.
- If you're working with metal in the aircraft industry, you need special snips and shears.
- The Compound-Offset Tinner Snips are made of strong metal that has been forged and coated to prevent rust.
- The 45-degree all-metal forged offset blades on this Tinner elevate the user's hands above the workpiece.
- DollyThe term "dolly" is used to describe a variety of sheet metal forming tools.
- You can use a dolly by hand or put it down on a table or other flat surface.
- By using the dolly's rounded surface, metalworkers may simply and consistently shape pliable metal into rounded shapes.
- A file can be used to remove very small quantities of material when working with metal or wood.
- The hacksaw is a simple hand tool used to cut through metal with a sharp toothed blade.
- More teeth per inch indicate a hacksaw blade is suitable for cutting stronger metals, while fewer teeth indicate it is better suited for cutting softer metals.
- Metalworkers utilise many different kinds of body hammers.
- A profile gauge, also known as a contour gauge, is a measuring device used to precisely document the cross-sectional geometry of a given surface.
- Nails and other small objects can be driven with a punch, or an impression can be made on a workpiece.
- Patterns and even images can be formed with decorative punches.
- Typically made of wood, wrought iron, and copper for the handle.
- The 3 "Folding copper and aluminium flashing and the vast majority of other metals used in HVAC ducting is a breeze with the Speed Seamer.
- You can crimp the following metals with the Speed Seamer thanks to its 1.5-inch-deep throat:Cold-rolled steel as thin as 22 gauge.
FAQs About Metal
Metalworking hand tools are hand tools that are used in the metalworking field. Hand tools are powered solely by the operator. Marking out tools are hand tools used for marking lines on metal surfaces, or checking alignment, or indicating points or positions on a workpiece.
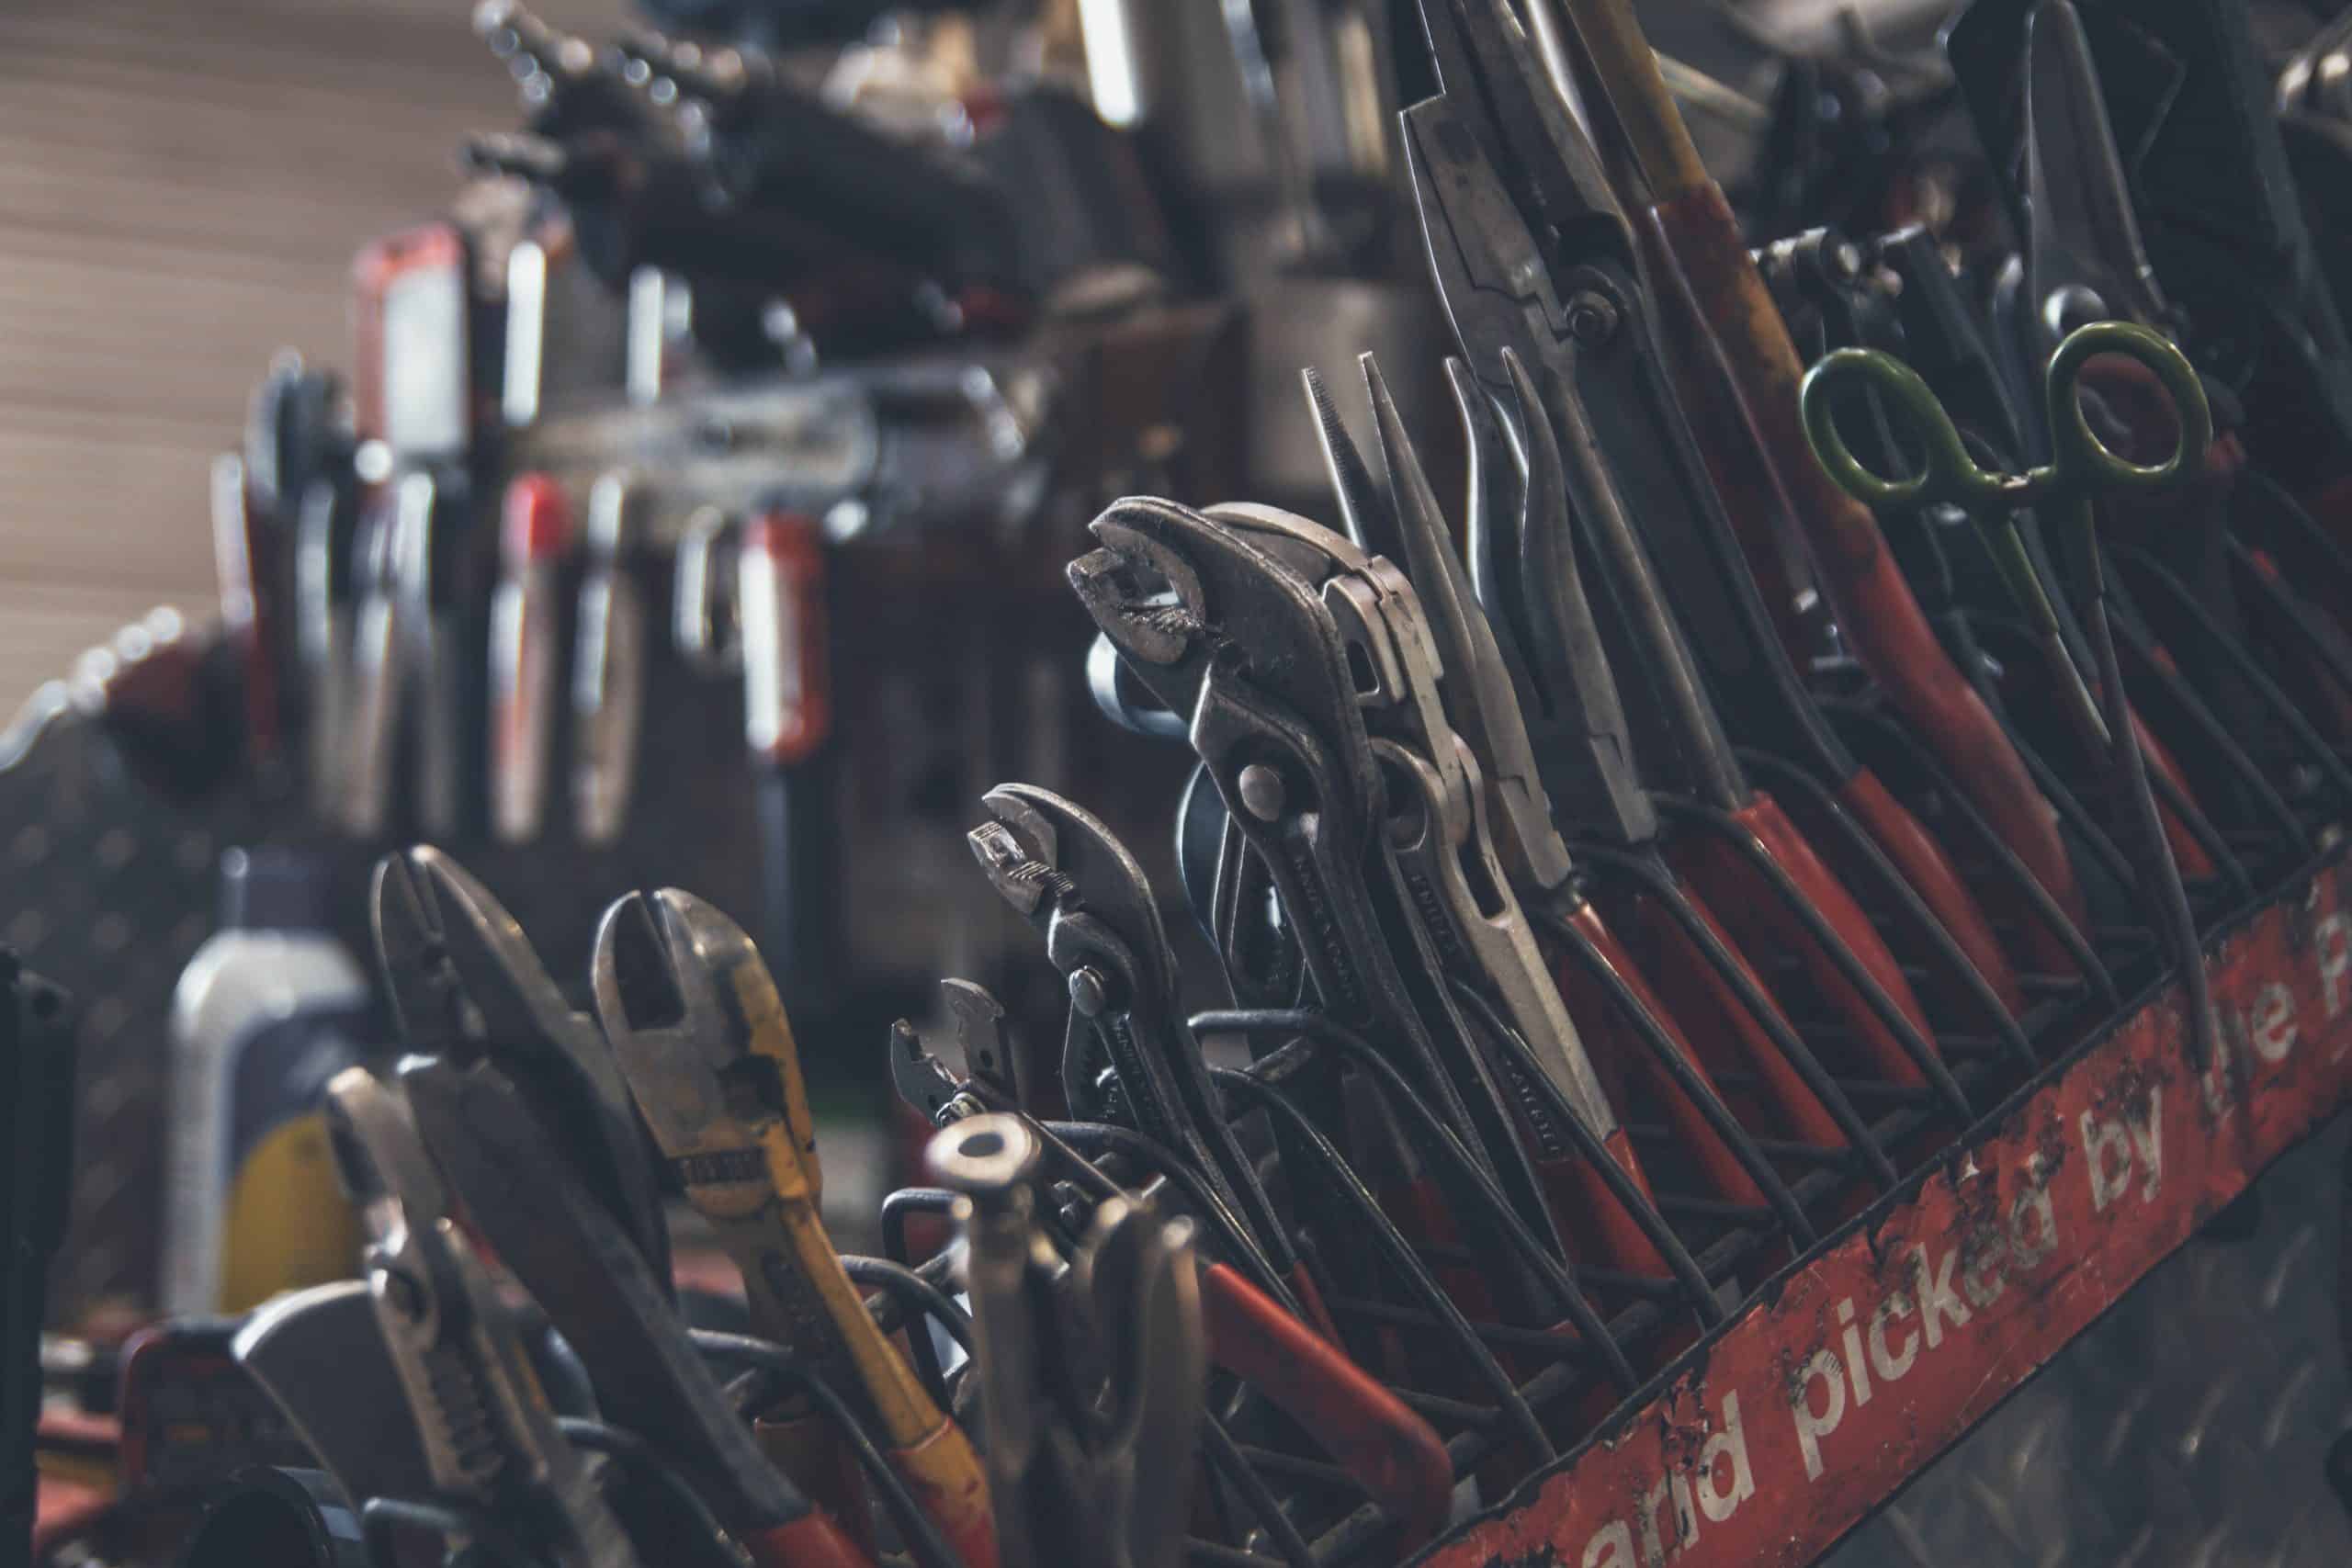
Categories of hand tools include wrenches, pliers, cutters, files, striking tools, struck or hammered tools, screwdrivers, vises, clamps, snips, hacksaws, drills, and knives.
An angle grinder fitted with an abrasive metal-cutting disc works well to cut all kinds of metal, including bolts, angle iron, rebar and even sheet metal. But the discs wear down quickly, cut slowly and shrink in diameter as you use them. Instead, we recommend using a diamond blade that's rated to cut ferrous metal.
A hacksaw is mainly used for cutting thin metal such as aluminum, brass, steel, or copper. Hacksaws are also used for cutting plastics such as PVC, PEX, or ABS on pipes or on sheet goods made of PVC, polystyrene, and more.
The use of hand tools is common in all industries. These tools are complementary to power tools that make the job easier for the user. Hand tools have a long history in our civilization. We have developed hand tools to help us make the difficult (or sometimes the impossible tasks) easier for us.